People seem to think that tuning a fractional rig is very difficult. In reality, it is not that hard as Mark Mansfield, Professional sailor and racing consultant/agent for UK sails Ireland, describes below in the first part of a series of 'How To' articles.
There are four fairly straightforward areas to do and once you go through these is a systematic manner it normally works out fairly well first time. These four areas are:
- Make sure the rig is in the centre of the boat
- Make sure the rake is correct
- Get the prebend right
- Tighten the shrouds to the correct level
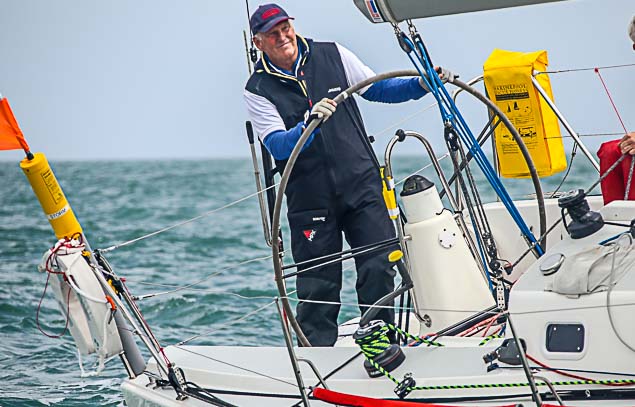
 Article author Mark Mansfield, Professional sailor and racing consultant/agent for UK sailmakers Ireland Photo: Afloat.ie
I will go through these four in detail in a moment, but whether it is a single spreader, double spreader or triple spreader mast, the system to get it right is the same, just a bit more work with the extra spreaders and shrouds. Also, it is the same whether it is a one design mast like a 1720, Etchells etc. or whether it is a one off custom boat. Most one design classes will have a tuning guide prepared often by a sailmaker and these are certainly a good base point. However, even if you have one of these tuning guides, much of what I will be going through still it very relevant. Over the years I have tuned everything from Admirals cup 45 footers, to Olympic Stars, to Figaro offshore boats to 1720’s, Etchells, Commodores Cup Boats, J109’s and a host of others and though there are small differences between them, the basics remain the same. So let’s go through the four headings above.
CENTRALISE THE RIG
It sounds a very basic and simple thing but it is amazing how many masts are over to one side more than the other. I am taking it that the mast step and the mast gate are in the center (as most are) but if you find having done all the items I mention, that the mast is still not setting up straight, then these should be measured and checked. OK, first thing is to loosen off all the shrouds a good bit until they are relatively loose. Then get a heavyish weight, like a large bucket of water, or a full diesel can and attach it to the Jib halyard. We will be using this to measure from side to side. It is important that you do not use the main halyard as if there is a bit of a bend in the tip, the main halyard will end up over to one side. The jib halyard is where the hounds are and if you can get that point in the center, all the remaining parts of the mast will line up.
Hang the heavy can (attached to the jib halyard) over the side of the boat ensuring that it is not being deflected by the stanchions or guard wires. Mark on this halyard with tape near the shrouds where the rope disappears over the deck. Then bring the halyard around to the other side and see if this tape mark is in the same place, when measured at a similar point. If it is not then you need to loosen the outer shroud on one side and tighten the outer shroud on the other until they are equal. You may need to do this a few times but it is worth the effort.
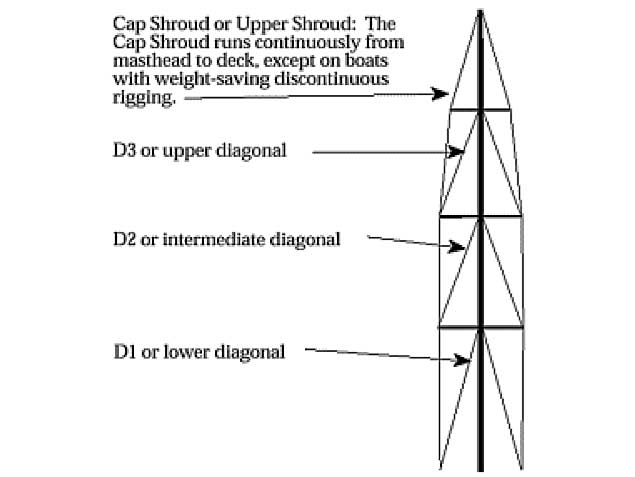
Now temporarily tighten the outer shrouds nearly back to where they were before you started. Looking up the mast track from behind the mast, tighten up the diagonal shrouds on both sides to ensure the sideways bend in eliminated. Start at the upper diagonal shrouds first, if you have more that one set of spreaders, them move downwards to the lower diagonal shrouds. Once you have the mast looking fairly straight, now we turn our attention to getting the correct mast rake.
 Looking up the mast track from behind the mast, tighten up the diagonal shrouds on both sides to ensure the sideways bend in eliminated
MAST RAKE
Most modern boats are best set up to about 2.5 to 3 degrees of rake. There are exceptions with some boats only needing one degree and others wanting as much as five degrees. However, the vast majority of boats favor around 2.5 degrees and their keel positions and rig plans are designed around this figure. To measure and adjust your rake, again you will need the bucket of water or other heavy weight. This time hang it from the main halyard until it hangs just below the boom. Ensure the weight aboard the boat is in its normal racing position and get all the crew off the boat. Tighten the backstay to a just taut position. Wait for the bucket to settle and mark where the halyard hits the side of the boom. If the rig is at 2.5 degrees of rake the distance from the back of the mast, measured just above the gooseneck should be circa 4.5% of your P measurement which you will get from your IRC cert. So take a J 109 with an approx. P measurement of 13 metres, 4.5% of this would be 585mm. If your bucket is hanging back further than this, then you need to bring the mast forward by tightening your forestay bottlescrew. If your bucket is hanging closer to the mast than that, then the forestay bottlescrew will need to be loosened. Always ensure you adjust the figures if the main halyard exits to the top of the mast further aft than the main track.
MAST PREBEND & TENSION
OK, So we have the mast now in the middle with the correct rake. Next step is to tighten the shrouds to the correct levels, which should in turn put prebend into the mast. Most sails are cut for a slightly prebent mast with about 1% of P as a decent guide. So, with a J109 with an approx. 13-metre P measurement that means about 130mm of prebend. To measure this, again take your main halyard, attach it to your gooseneck and tighten it hard. Push the halyard against the mast track and look up to see what is the max this halyard is positioned behind the middle of the mast. In the above J109 mast, that should be circa 130mm. If it is more then the diagonal shrouds need to be tightened more to straighten the mast. If it is less then the diagonal shrouds need to be eased. Always remember this is based on your outer (cap) shroud being up to full tension. As you tighten the outer shroud, the mast will likely compress and this will cause bend.
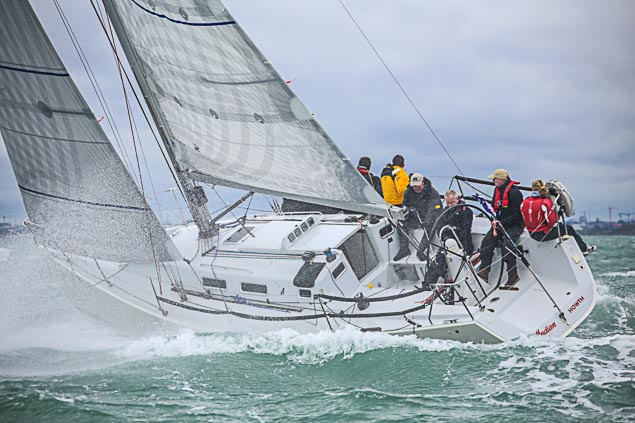
 Most modern boats are best set up to about 2.5 to 3 degrees of rake Photo: Afloat.ie
Final tuning of a mast always needs to be done out on the water, preferably with about 12 to 15 knots of wind, with a few bodies on the side. As a general rule the correct tension of the shrouds would be when they just come slack to leeward. If when you go out the leeward shrouds are still bar tight, then you need to ease them a little on both sides. If, as is more likely, the shrouds are too loose, then they need to be tightened, a little on both sides. As the breeze gets stronger it will be difficult to get the shrouds so tight that the leeward shrouds are always hard, especially with an aluminum mast. What happens is as you increase the tension in stronger winds, the mast compresses accordingly and the leeward shrouds stay a bit slack. With a carbon mast, it may be possible however to get the leeward shrouds snug as carbon masts generally bend less from side to side. Getting each individual shroud at the correct tightness level will require quite a few runs side to side, looking up the mast track, trying to see which area is not straight and then adjusting an individual shroud and trying again. Even when the mast is straight, you my find then that there is too much prebend which might necessitate further adjustments to the mast, or may even signal that a small luffround adjustment is needed.
I will be doing a follow-on article on this in a few weeks, which will deal with changing gears on the race course from light winds, right up to very strong winds. For many, finding one decent setting may be what they are looking for, say a medium setting, and then prefer to lock everything off at that stage. Others will want to adjust the rig every couple of knots to try and get that last fraction of speed out of it.
Mark Mansfield—Professional Sailor and racing Consultant/Agent for UK sails Ireland.
e mail—[email protected]
UK Sailmakers, in conjunction with the Irish Cruiser Racing Association and Afloat.ie, will be publishing a series of knowledge sharing and how-to articles for the 2018 season.


